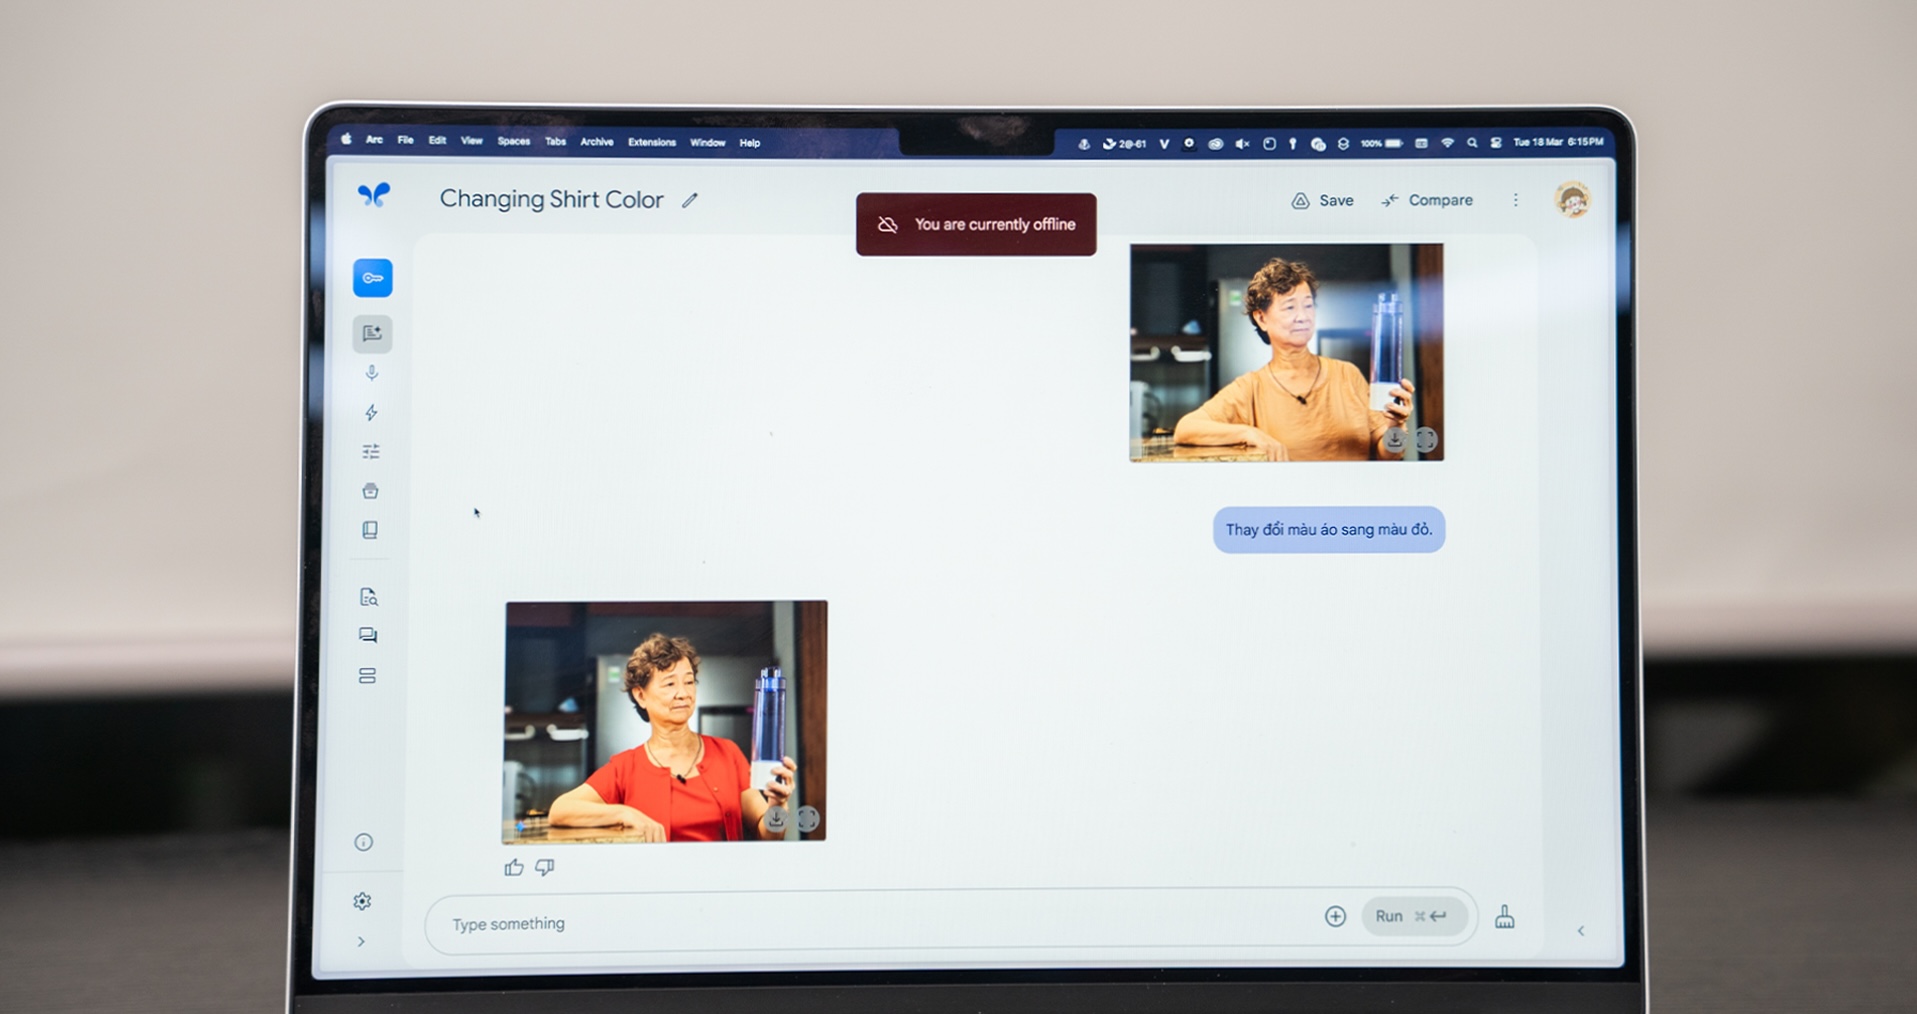
Google has introduced Gemini 2.0 Flash Experimental, unlocking the vast potential of artificial intelligence in image editing. This tool allows users to perform various tasks, including adding details, removing backgrounds, inserting text, and even creating illustrated storyboards using AI-generated images. Below is a step-by-step guide on how to use this powerful tool effectively.
Creating Images with Gemini 2.0 Flash Experimental
Gemini has long enabled users to generate images using text prompts. However, the latest Gemini 2.0 Flash Experimental version offers deeper image-related capabilities, such as enhancing details, background removal, text overlay, and image merging.
One of the primary ways to access this chatbot-powered tool is through Google AI Studio. Here’s how you can use it:
Step 1 – Access Google AI Studio
Go to Google AI Studio using the link provided by Google and log in with your Google account.
Step 2 – Configure the Settings
Navigate to the Run Settings section on the right-hand side.
Ensure that the Model is set to Gemini 2.0 Flash (Image Generation) Experimental.
Under Output format, select Images and Text to get both visual and textual responses.
Step 3 – Input Your Prompt
Enter your desired command in the Type something field.
You can also upload an image directly by dragging and dropping it from your computer.
Once Gemini processes the request, you can enlarge the image or download it for offline use.
Key Considerations When Using Gemini 2.0 Flash Experimental
To track past conversations, access the Library panel on the left and enable chat history.
Users can fine-tune the Temperature and Top P parameters in the Run Settings to adjust the balance between creativity and factual accuracy.
By leveraging Gemini 2.0 Flash Experimental, users can streamline their image editing workflow with AI-powered automation. Whether you need to create visuals for content marketing, social media, or creative projects, this tool offers an efficient and innovative solution.
Happy experimenting!